

Thursday, April 29, 2010
Back to the Design Wall
Wednesday, April 28, 2010
Completed Scrappy Irish Chain

I love this pattern - so traditional, yet fun. People are always surprised at the variety of fabrics that can hide in a scrappy quilt. I include Christmas, novelties and just about anything that is cotton into my scrap quilts.
Tuesday, April 27, 2010
Quilting the Scrappy Double Irish Chain Quilt
As almost always, I began quilting with straight lines. I decided to stitch through all the scrappy squares first. Then I continued on, to stitch-in-the-ditch around the plain border; then I added the binding, so that I wouldn't have to deal with the raw edges of the quilt. I always used to leave the binding until the end, but prefer this method instead.
 While tidying up my sewing room, I found some quilting designs, prepared on "golden" tissue paper, that were the perfect fit for my alternate blocks! I had to make a few more before stitching the pattern. The original pattern was from a Quilters' Newsletter free download in 2003 - amazing what you find tucked into corners in your sewing room!


Then I decided to stitch loopy fans in the background areas of both the white and purple edges of my scrappy border.
I finished off with a couple of swirls in the 4-patch in each corner.
This quilt was machine quilted, using a Juki, and hand guiding without a frame or stitch regulator.
 While tidying up my sewing room, I found some quilting designs, prepared on "golden" tissue paper, that were the perfect fit for my alternate blocks! I had to make a few more before stitching the pattern. The original pattern was from a Quilters' Newsletter free download in 2003 - amazing what you find tucked into corners in your sewing room!

Then I decided to stitch loopy fans in the background areas of both the white and purple edges of my scrappy border.
I finished off with a couple of swirls in the 4-patch in each corner.
This quilt was machine quilted, using a Juki, and hand guiding without a frame or stitch regulator.
Monday, April 26, 2010
Design Wall Monday

Friday, April 23, 2010
Border Completed

The picture was taken after I had pin-basted my quilt, and had stitched "in the ditch" around the basic shapes. I then added a scrappy binding, made from left-over 2 1/2 inch strips. Now on to the remaining quilting.
Thursday, April 22, 2010
Border Choices
When making a scrap quilt, I often use a scrap border. Often, I just sew my "leaders and enders" 4-patch blocks together to make one, but this time I wanted to do something different. I have been following Judy Laquidara's blog, Patchwork Times, and was inspired by the border on this quilt.


I opened my bin of 1 1/2 inch strips and started pulling strips at random. I did some math to figure out how many 3 inch blocks it would take to make each border, then divided that in half, with half getting a white square and half getting a purple square (final border is purple because I had enough on hand to make the border!).
Each block needed 3 pieces of a dark scrap fabric, one 1 1/2 inch square, and two 2 1/2 x 1 1/2 inch strips. It also needs one 1 1/2 inch square and one 1 1/2 x 3 1/2 inch strip of either white or purple border fabric. Once again, I used the assembly line technique to stitch these blocks.
For my quilt, I needed 35 blocks of each colour.
Wednesday, April 21, 2010
Next Step - Leaders and Enders

This one is easy - one piece cut 8x5 inches and 2 pieces cut 2x5 inches. I stitched a 2 inch dark scrap square on each end of the two strips, then stitched the block together. I made 17 of these blocks.
These images are from EQ6. It is a wonderful design tool!
Tuesday, April 20, 2010
Back to Leaders and Enders
I had a large stash of 4-patch blocks made from the 2 inch squares that sit next to my sewing machine. I decided that it was time to make use of them, before they overwhelmed my sewing area. One of my favourite standards is a double Irish chain pattern.
 I started by making the 25-patch blocks. They are made with four 4-patch blocks, four 2-patch blocks, made with a white-on-white (WoW) fabric as one of the pieces, and a light coloured square.
Since I like to assembly-line sew, I made stacks of 4-patches etc., placing them in their block positions. I made sure that the lighter fabrics in the 4-patches were pointing toward the centre of the block, and that the WoW squares were in the centre position on each side of the block. I designed the layout of the quilt using Electric Quilt software, and found that I needed 18 blocks for my finished project.

Since I like to assembly-line sew, I made stacks of 4-patches etc., placing them in their block positions. I made sure that the lighter fabrics in the 4-patches were pointing toward the centre of the block, and that the WoW squares were in the centre position on each side of the block. I designed the layout of the quilt using Electric Quilt software, and found that I needed 18 blocks for my finished project.
Saturday, April 17, 2010
Back to the Sampler Quilt
I did the basic "stabilizing" quilting and stitched the binding on this quilt before heading north. I finally managed to finish the rest of the quilting, washed the finished quilt and checked for missed thread tails.


The pattern is Play Date Sampler by Nancy Mahoney, found here.
A picture of my finished quilt top may be found here.
I machine quilted rows of curves in each of the blocks, turning in a different direction for each of the 12 blocks. These were marked using a wash-out type marker, then stitched free motion, hand guided on my Juki.
I decided to stitch leaves and a looped vine in the background fabric between the final two borders. I did the outside space first, stitching a heart-shaped leaf into each V-shape, with a small wavy loop at each point.
On the inner background fabric I used the same motif, but stitched it in alternating directions. I find leaves, vines and flowers an easy way to fill in borders without doing too much quilting.
Friday, April 16, 2010
Unpacking and Quilting


This is some of my quilty stuff that needs to be put away. Most of it will be waiting until I finish some quilting.
The fabric that I bought at Jinny Beyers Studio is heading off to the washing machine.
The stripe spoke to me - I love the deep peach colours against the black. The mug holds a collection of fat eighths - the one I chose had mostly blues and greens. Don't know what I'll do with this - I'll wait until inspiration strikes!
Tuesday, April 13, 2010
Home at last!
Had another lovely drive - sun shining all the way, although the trees are almost bare and the grass isn't quite as green. Received a wonderful welcome from DS2, who also helped unload the van! We had leftover jambalaya for dinner with a green salad, and the 2 chicken breasts that were leftover from our dinner in Wilkes Barre.
It was great to sleep in our own bed again, but I have to get use to the light traffic noise.
I'll be unpacking for the next few days, so wish me luck. After looking at my sewing room, I think I'll have to do a big reorganization as soon as I get the quilting finished on a couple of quilts!
It was great to sleep in our own bed again, but I have to get use to the light traffic noise.
I'll be unpacking for the next few days, so wish me luck. After looking at my sewing room, I think I'll have to do a big reorganization as soon as I get the quilting finished on a couple of quilts!
Monday, April 12, 2010
On the Road Day 3
Another lovely sunny day, but couldn't stop at a couple of my favourite shops, as we passed by before they opened. DH pulled a page out of his itinerary, and told me to help him navigate. After a quick stop for lunch we ended up at Jinny Beyer's Studio!


Had a lovely snoop around the shop - great seeing the famous palette all in one place, and loved browsing her famous stripes! There were lots of patterns, kits, and interesting gift items as well. Even though I've been on a self-imposed fabric diet, I had to go off the wagon! I found a lovely stripe that had to come home with me, then bought 2 half-yard pieces of coordinating fabrics. DH suggested that I get a coffee mug with a selection of fat eights as well! If I had a larger budget, I would have bought a kit for this quilt, made from her newest fabric line. The village centre where the shop is located is very picturesque! We headed out and meandered our way to Wilkes Barre PA.


Had a lovely snoop around the shop - great seeing the famous palette all in one place, and loved browsing her famous stripes! There were lots of patterns, kits, and interesting gift items as well. Even though I've been on a self-imposed fabric diet, I had to go off the wagon! I found a lovely stripe that had to come home with me, then bought 2 half-yard pieces of coordinating fabrics. DH suggested that I get a coffee mug with a selection of fat eights as well! If I had a larger budget, I would have bought a kit for this quilt, made from her newest fabric line. The village centre where the shop is located is very picturesque! We headed out and meandered our way to Wilkes Barre PA.
Saturday, April 10, 2010
On the Road Day 2
We enjoyed our visit in Athens so much, we decided to go to the South Carolina Botanical Garden at Clemson. This was a much more rustic garden area, but it had a large area of paved pathways suitable for wheelchairs and strollers. (Great quilt pattern!) There were lots of woodland paths as well. The rain from the previous day had finished the daffodils, and the camellias were nearing their end as well. Another place to put on the "must visit again" list.


We drove north to the Asheville area, and stopped for a quick stroll around the downtown area of Black Mountain before continuing on. DH took some pictures of the train station.....


We drove north to the Asheville area, and stopped for a quick stroll around the downtown area of Black Mountain before continuing on. DH took some pictures of the train station.....
Friday, April 9, 2010
On the Road
We drove through showers, downpours and sunny skies during our first day on the road. We stopped at Andersonville GA, site of a POW camp. It is a moving monument. We didn't spend as much time as we had planned as the skies opened up!


We continued north to Athens GA. As we approached, the skies cleared and we were able to have a quick visit at the State Botanical Gardens. Unfortunately, the visitor centre was closed, so we'll have to return, probably in the fall to see the change in the gardens.


We continued north to Athens GA. As we approached, the skies cleared and we were able to have a quick visit at the State Botanical Gardens. Unfortunately, the visitor centre was closed, so we'll have to return, probably in the fall to see the change in the gardens.
Tuesday, April 6, 2010
No quilting for me for a few days...

This is my stack of completed quilts waiting to be packed. (There are a couple with safety pins, as I still have some quilting to complete in the blocks.)
Monday, April 5, 2010
Shades of Blue Pt 5

Sunday, April 4, 2010


Saturday, April 3, 2010
Shades of Blue Pt 3


More alternate blocks, machine quilted with blue variegated thread. All these are designs that are found here.
These were machine quilted with my Juki, hand guided without using a frame.
Friday, April 2, 2010
Shades of Blue Pt 2


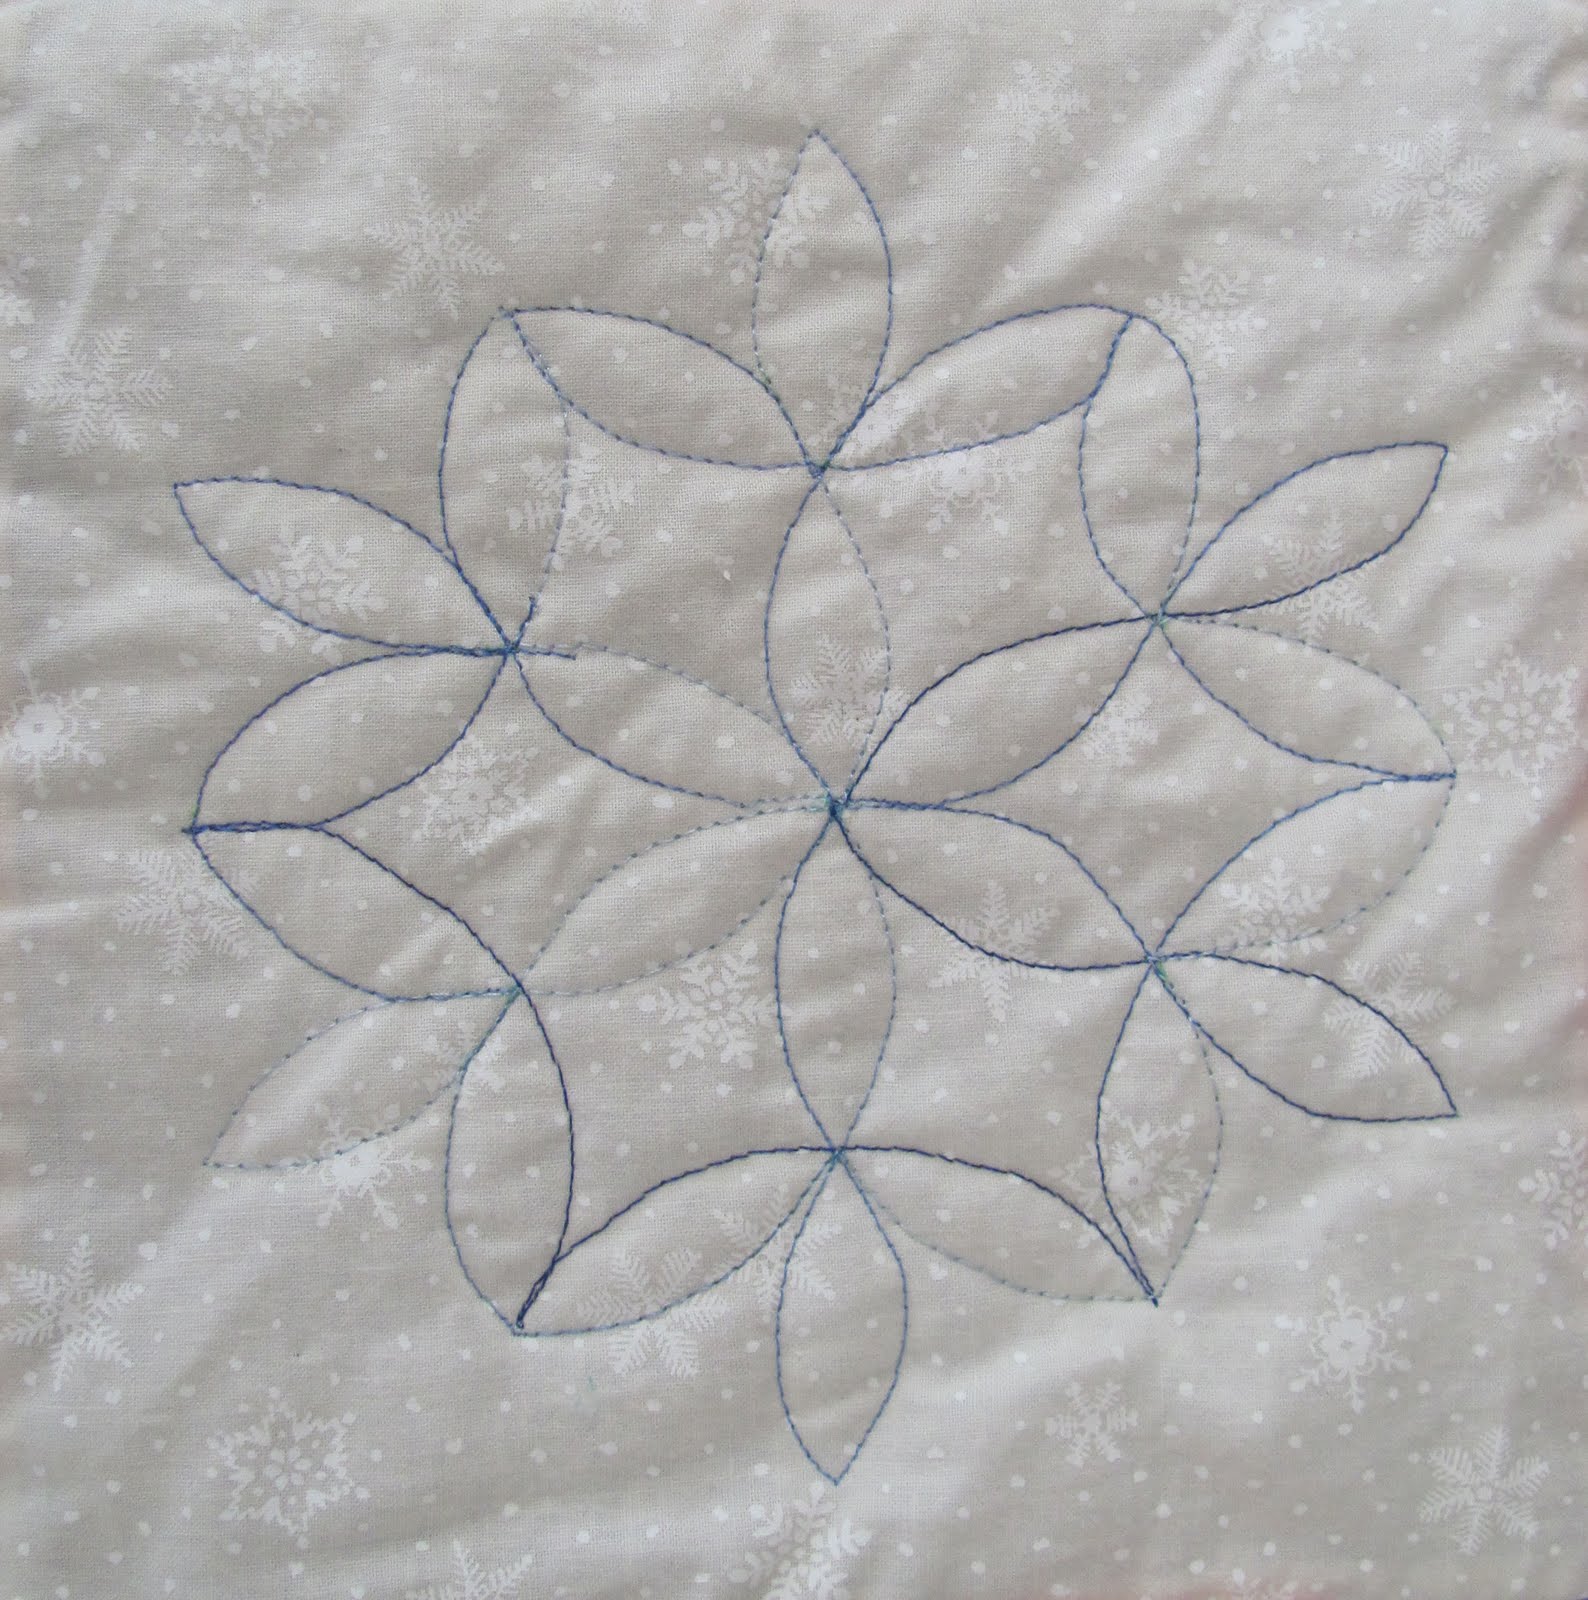

Here are the first few quilted alternate blocks. The designs were found as a BOM in 2001, and are still available here.
The designs were traced with a pastel Sharpie marker onto "Press n Seal" wrap, then stitched, using variegated trilobal polyester thread. Removing the sticky plastic is good TV watching work.
Thursday, April 1, 2010
Shades of Blue

The machine quilted motifs were stitched with a variegated blue thread. I'll show the individual blocks and setting triangles later.
Subscribe to:
Posts (Atom)