I finally pin-basted the batik cathedral windows project yesterday.
I began stitching the "frames" in gentle curves, using some gold metallic mylar thread from Superior Threads. Still have more to go. I've been pinning the curve so that I don't over-stretch the curve.
I hope to get the rest stitched, and then decide what to stitch in the two borders. Then I'll be able to stitch the binding while watching TV this evening.
I also finished this wall hanging top. I used the small path templates (3 1/2 inch), from Elisa's Backporch Design.
There are videos on the website, showing how to stitch these curved blocks without pins. It takes some time, but works really well! I like these bright colours so much, I might use this as a table topper on my round dining table up north!
Head over to Judy's blog to see how creative everyone is this week!
This is the back of the cathedral windows project. The black fabric is the one that shows through when the edges are stitched in place on the front. The whole thing is made from 2 sizes of squares and one size of rectangles.
Here is the right side. I used leftover muslin for the "frames" (the part that gets turned and stitched down.) The squares of plaid are filling the full squares, and triangles for the edges. The triangles are stitched in when you add the border.
The top is layered to the batting and batting at this point, and then you stitch down the bias edges of the muslin. I machine stitched them down, trying to stitch a continuous line as much as possible. Then all I did to finish the little quilt was to add binding!
Shelley Swanland's book "Machine Stitched Cathedral Windows" is currently out of print, but she has some copies for sale through her website, and there are some used copies available on Amazon.
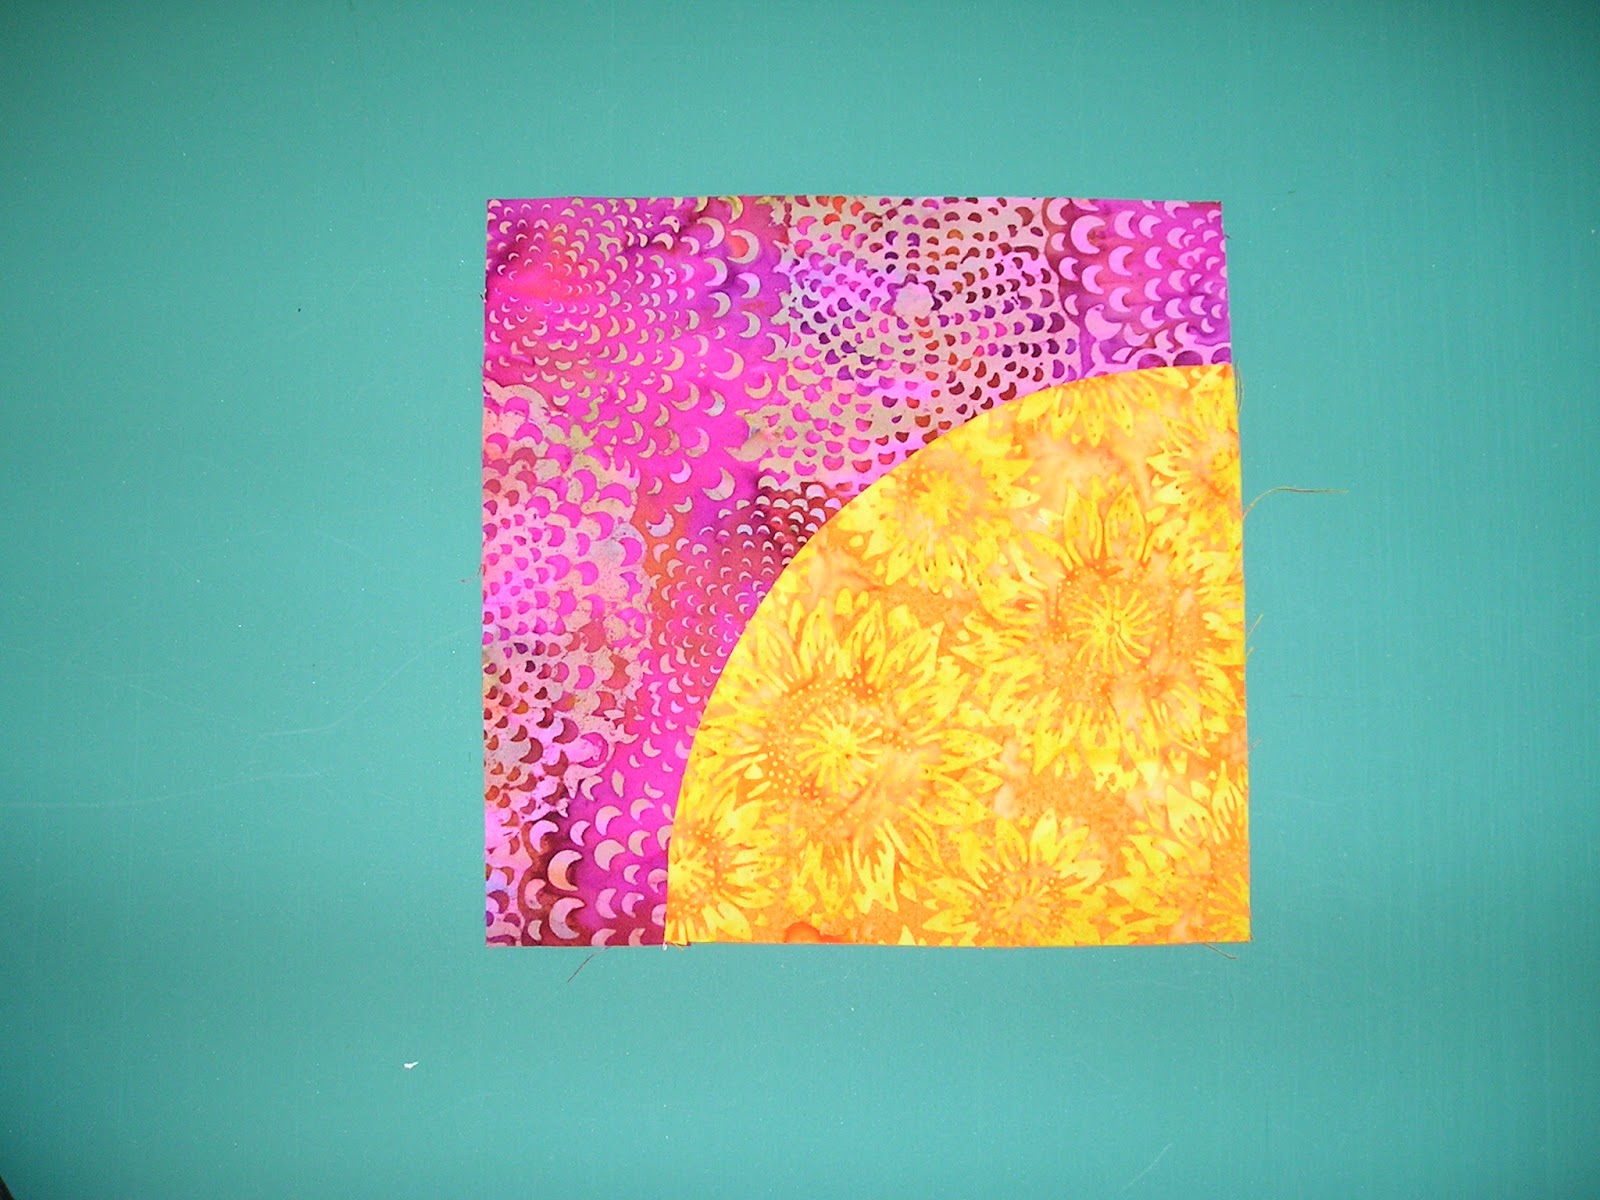
This is my test "Drunkards Path" block, stitched without pins! I plan to teach this method to my quilting group soon. Most quilters are afraid of sewing curves, but if you use the correct method, it is easy. I didn't even square up the block when I finished sewing - just a quick press!
This is my next cathedral window project. The squares are larger than the plaid wall hanging, and there will not be any small squares added on top. The pretty mottled, multi-coloured batik will show through, and so will the great batik squares on top! Even after reviewing the method by making the small wall hanging, I've had to do some un-sewing! Then next colour added will be the outside of the centre section. Then it just has two borders added before "quilting" (stitching down the edges of the frames!)